How To Build and Push a Docker Image to Docker Hub
Overview:
This guide will show you how to create a Docker Hub repository, build a container image, and push it to the Docker Hub repository, from your local computer.
Page Contents
Foreword
Docker helps developers and DevOps engineers package an application and all its dependencies as an image and run as a container. To easily move your Docker images around or share them with your team members or others, you can store them in a container registry.
Docker Hub is the default container registry to store, share, find, and use Docker container images. With Docker Hub, developers can host public repositories that can be used for free, or private commercial repositories for teams and enterprises.
Let’s say after building your Docker container image, you want to deploy it to several servers in your IT environment, you can do this easily by pushing the image to a repo in Docker Hub and then pulling or downloading it on the many servers from the Docker Hub repo using the repo title and image tag as explained below.
Create a Docker Hub Account
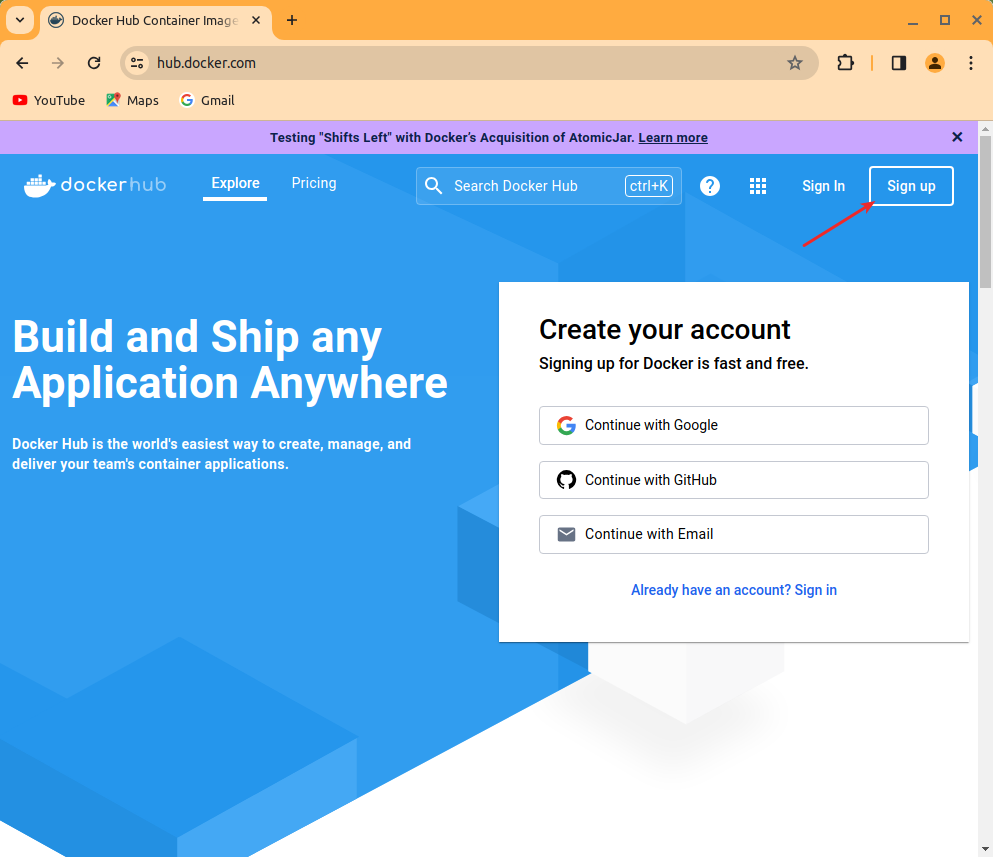
To use Docker Hub, you need to create an account. Simply go to https://hub.docker.com/ and click on Sign Up to create an account. Alternatively, you can sign up with Google, GitHub, or Email.
After signing up, log into your account to proceed.
Create a Docker Hub Repository
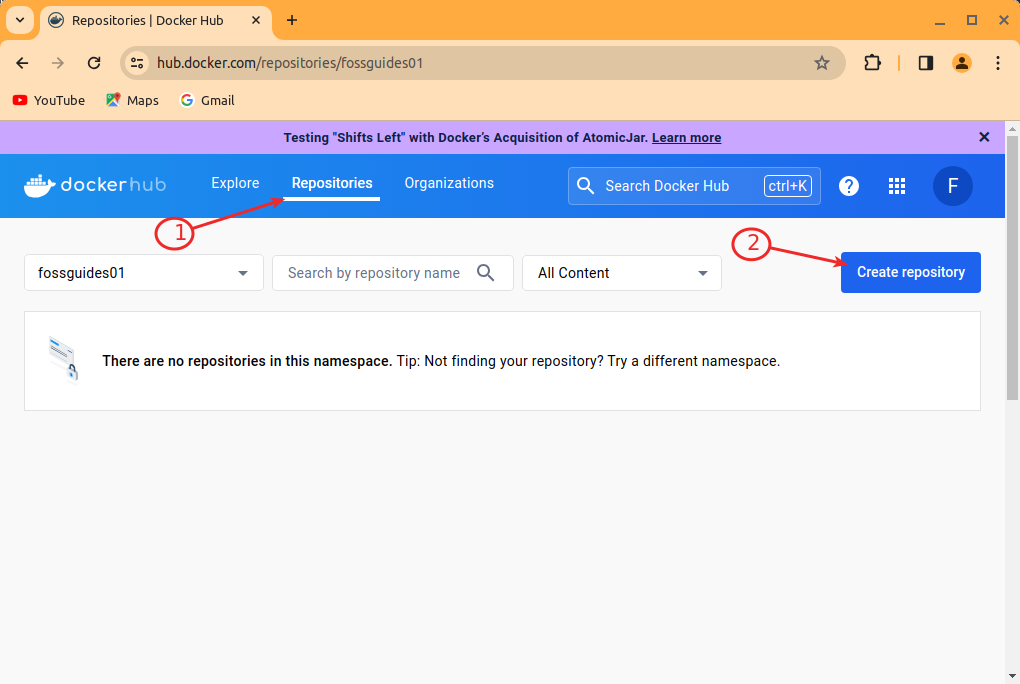
Next, click on Repositories, then click the Create Repository as highlighted in the following image.
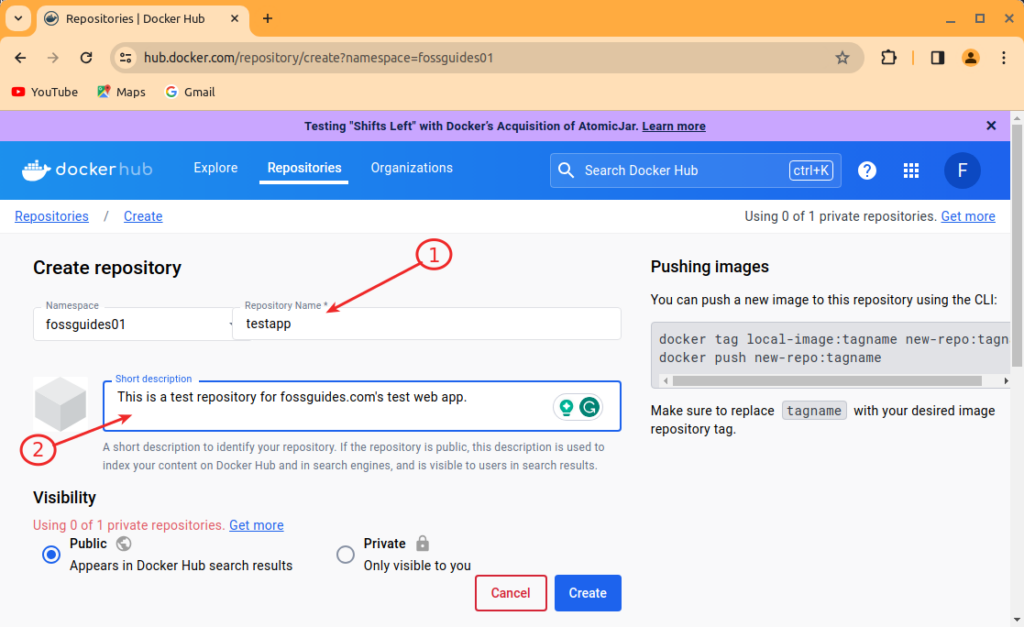
Then enter the repository name and a short description as shown in the following image. Then click the Create button. By default, the repo is set to Public, you can only create one private repo when using Docker Hub for free.
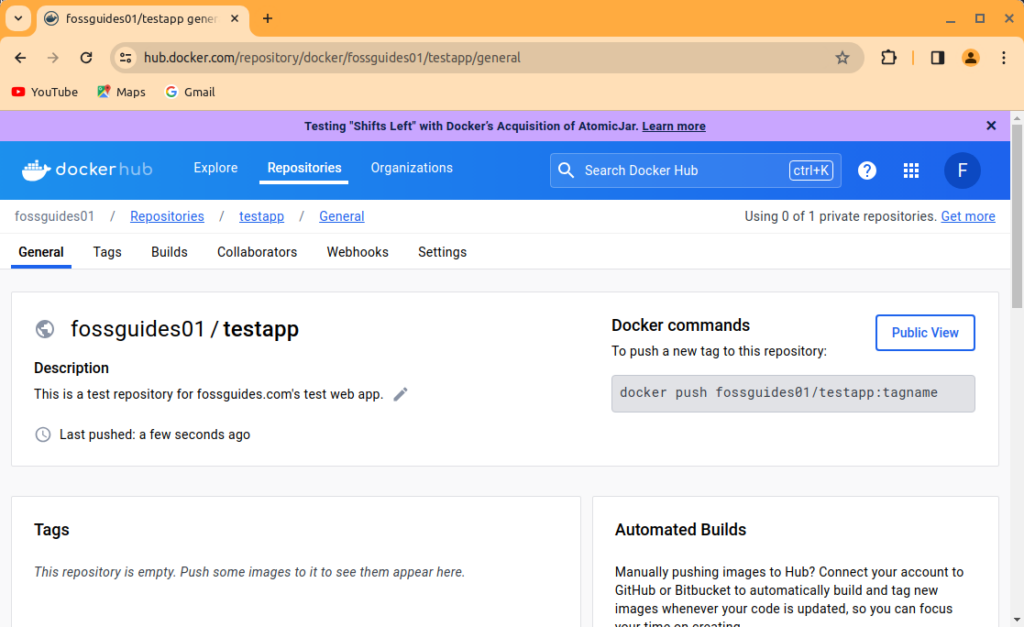
Now your repo should be ready for you to start pushing images to it.
Build a Docker Image and Push it to Docker Hub
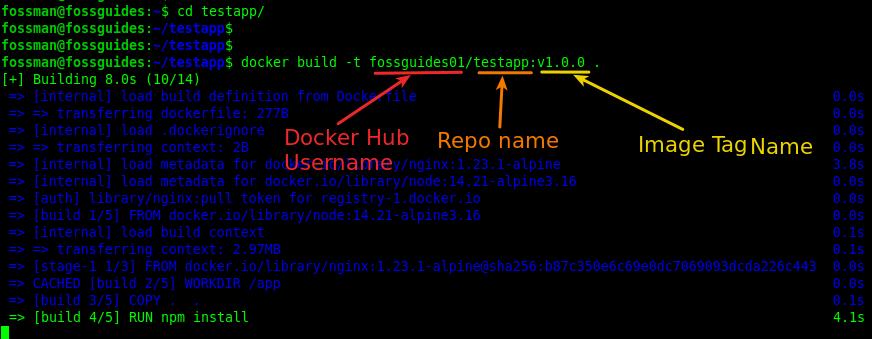
First, move into your project or application root directory, then build the image as shown. The -t flag in the build command is used to define the image tag. If you are pushing to Docker Hub ensure that the image tag is in the format username/repo_name:tagname.
$cd testapp
$docker build -t fossguides01/testapp:v1.0.0 .
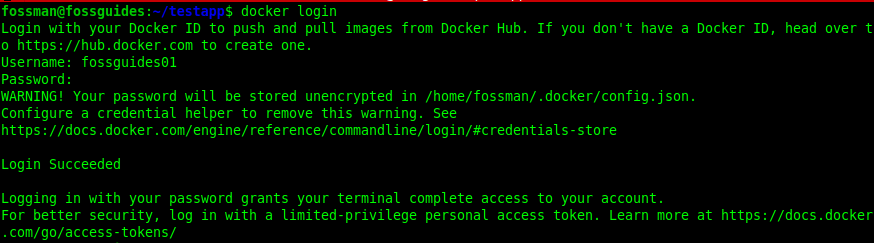
Once the image build is complete, push it to Docker Hub as follows. But before that, you need to log into your Docker Hub account from the CLI, using the following command. You will be prompted to enter your username and password as shown in the image below.
$docker login
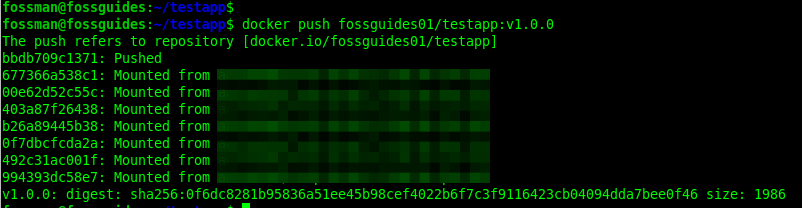
After successful login, push the container image to Docker Hub like this:
$docker push fossguides01/testapp:v1.0.0
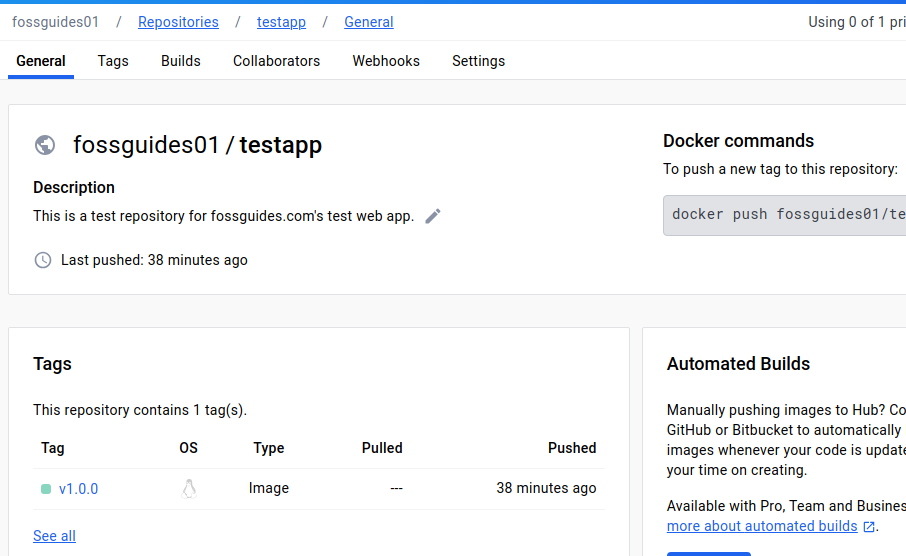
After pushing the image to the Docker Hub repo, a new tag name will be created under the Tags section as shown in the following image.
Pull an Image from Docker Hub
To pull your container image on another computer, ensure that it has Docker installed. Then log into Docker Hub as shown before and pull the image:
$docker pull fossguides01/testapp:v1.0.0
Read also: How To Dockerize a React Application for Production Deployment
Final words
That’s it for now. In this guide, I have shown how to create a Docker Hub repository, build a Docker container image with a tag, log into Docker Hub account via the terminal, and push the image to the repo. Use the comment form below to ask any questions or share your thoughts on this guide. In upcoming guides, I will show how to automate the build process and pushing of images to Docker Hub using platforms such as Gitlab and Github.